The easiest way to create a new look is by starting from an existing one that contains similar data. You can do this either by copying it, or creating a new one using the look's explore (as described below).
Each look starts with an "explore", which is like a data table. For example, if you wanted to create a new look that shows information about work orders, you could start by opening the explore for a similar existing look, such as the Work Order Cost Report.
To create a new look:
-
Open an existing look that displays similar data to the look you want to create. To learn how, see View looks.
-
Click the gear icon:

-
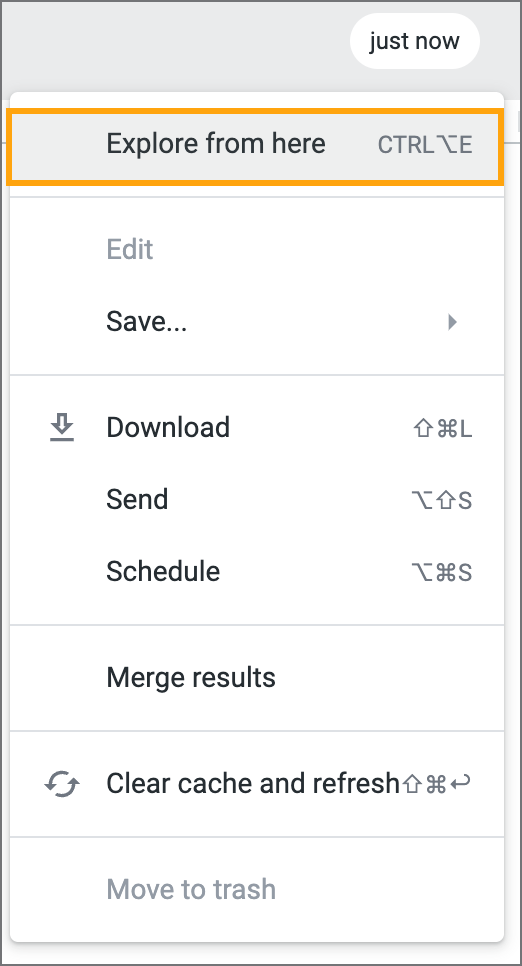
In the menu, select Explore from here:

-
Configure your look by doing any of the following:
-
When you're finished configuring your look, click the gear icon:

-
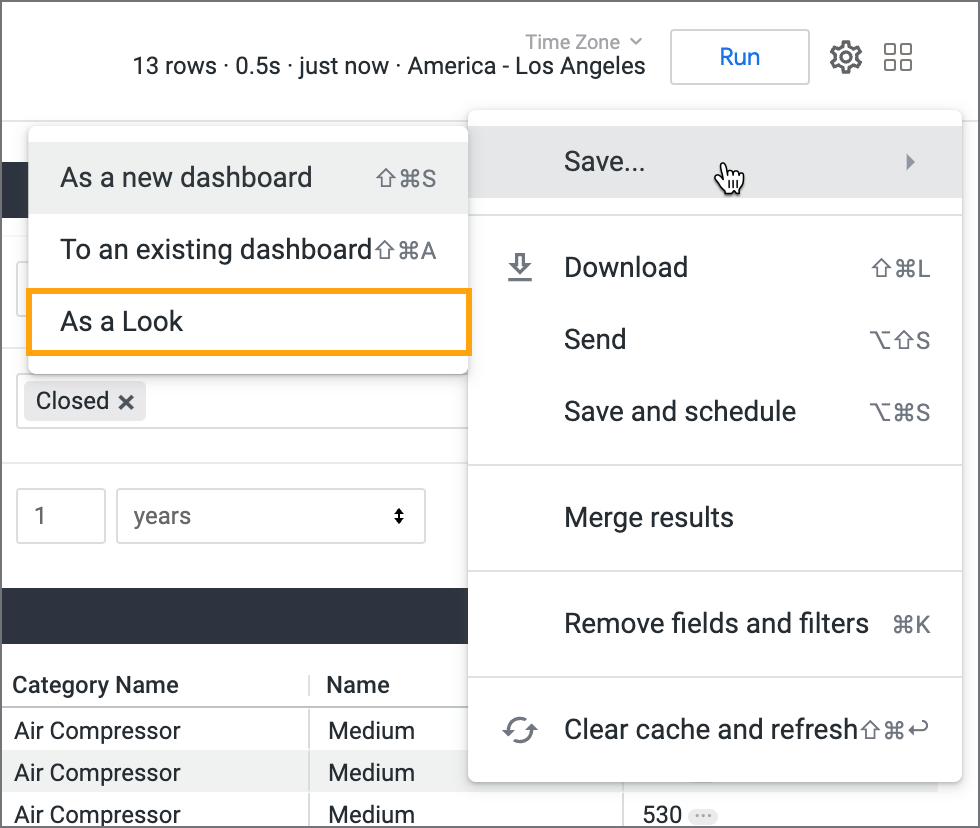
In the menu, select Save > As a Look:

-
Enter a title and (optional) description for your look.
-
In the Folder list, select where you want to save the look:
-
Personal: Nobody else can view the looks you save in this folder. Only you can access them.
-
Group: Anyone in your organization with access to analytics can view the looks you save in this folder.
-
Shared: You can't save looks in this folder. This folder is only for the default looks that Fiix provides.
-
-
Click Save.