Overview
The reports writer feature is designed to allow users to create their own, customized reports. You can easily design a new report, save it, run it, and schedule its execution, as all reports already available. Those reports can make use of any user-facing data in the CMMS, and allow you to present your maintenance data in a smart and elegant way.
The reports writer feature technically provides a visual interface to the MySQL language. It has been designed in a way that any user can learn how to use it fairly easily. However, it is an advanced feature, and as such, you will greatly benefit from previous experience in generating reports. This resource guide is to be used as a companion to the Champion Reporting and Master Reporting training courses. Our reports writer feature is quite similar to other reporting tools, and works in a similar fashion as them, such as Pivot Tables in Excel, or queries in MS Access. Of course, if you have a working knowledge of MySQL queries, this will feel like a walk in the park.
Create a Simple Custom Report
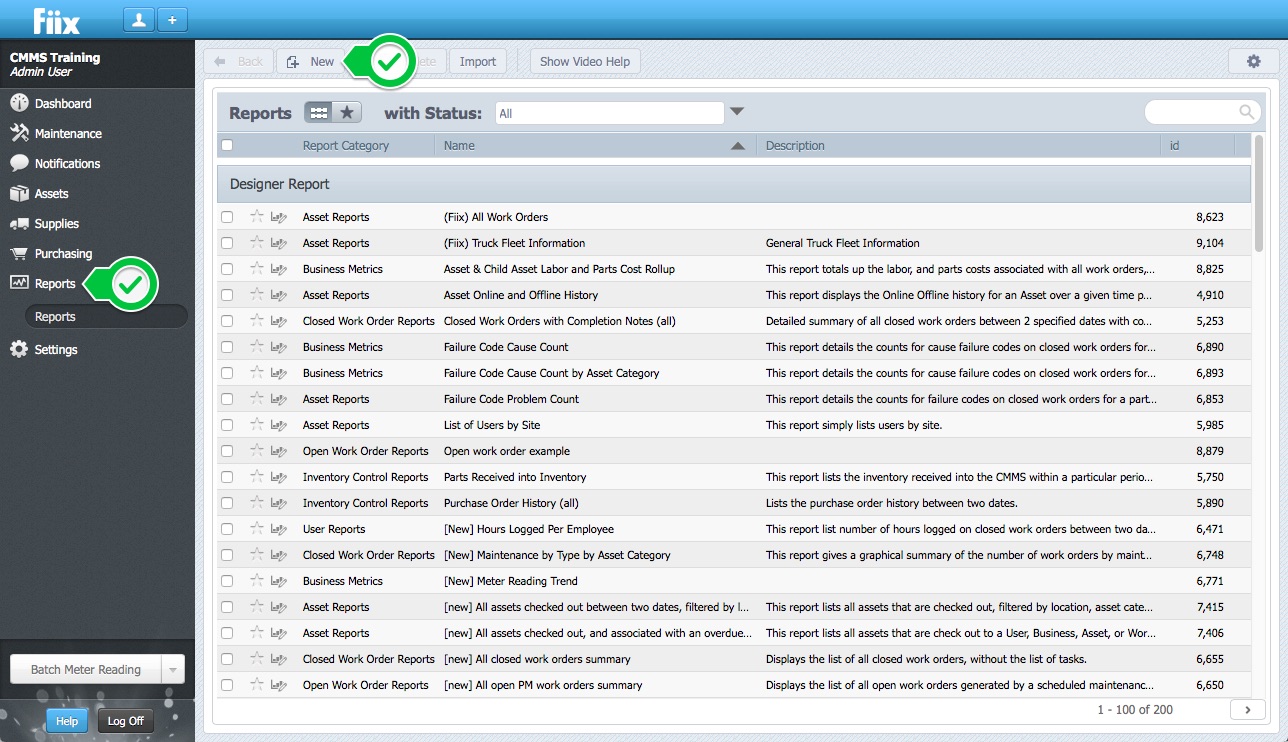
1. Click Reports, and New
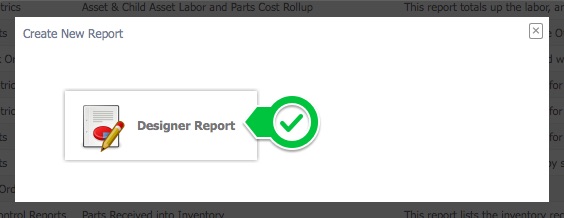
2. Click Designer Report
The report writer interface is divided into four different tabs : Definition, Design, Options, and Scheduling
-
Definition just carries basic information about the report
-
Design is where you will actually design the report, select tables, and organize it into columns.
-
Options provides customization, like page format, graph display, etc.
-
Scheduling lets you generate and send the report on a regular basis.
3. In the Definition tab, enter all your basic information about the report. Enter the report Name, Description, Instructions to run the report (this report does not need any specific parameters so we do not have a lot to put here). The Report Category lets you organize your reports into various pre-built categories.

4. Click Design, and click here to pick the main table. In order to create a report, you must have at least one table from which the information for the report is being drawn from. This is called the master table. Select the master table from the list of available options. In this example, the work order table will be selected as the master table.

5. In the next step, you need to decide a master database table to build this report around. The CMMS database has over 100 hundred tables from which to choose from. In this case, its an open work order report, so we'll select the Work Order table from the list:
(The CMMS uses a relational MySQL Database. If unsure what a database looks like, think of an excel Excel book which tabs and tabs of data)

6. In the Design Tab, expand out the Master table by clicking on the + icon. This shows you all of the available fields for that database table.

7. The Fields section is where you will be able to display your report’s fields, as well as filter your report data depending on certain fields. In the set up of the report using the report writer, you don’t need to know any code. You simply drag and drop the columns across to create your query and design your report.

8. In addition, you control how you want the data to be displayed by dragging and dropping or resizing the columns.

9. Lets say we want to add the Work Order Status to the report. The Work order status does not exist in the work order table. Rather, the work order references the work order status table. In this case, we need to join to the work order table.
If certain fields you need are not available in the main table, you can add supplementary tables to the report using a join. Click the blue Join hyperlink:

10. To add the data from another table in the database, you must join to that other table in some way. In this case, we only want to show open work orders so we use an Inner join. (The different Joins are explained in depth in "What does Join mean when building a Custom Report?" procedure).

11. If we run the report now, it would show all work orders, regardless of whether they are open or closed. To show open work orders only, we need to create a filter. Click on the Filter button.

12. Define the filtering strategies. We’ll use a Simple filter:

Note:- for more information on filtering, see the Create a Filter for your Custom Report procedure.
13. Select Work Order Status id (link), is, and Open from the dropdown menu to show open work orders only

14. In order to create a simple filter it is important to understand the difference between the AND and the OR operators. These two operators are used to configure the CMMS Custom Filters:
- The And operator indicates that all specified conditions must be met.
- The Or operator indicates that any specified conditions can be met.
Note: Both the AND and OR operators cannot be used in the same simple filter. If you want to use AND and OR, you must use a complex filter.
To summarize, the And operator is restrictive and the Or operator is flexible. In this case. we don't need a second filter so we can select OK.
15. In this example, you'll notice the red line in the design tab:

16. This indicates the report is too wide for the default A4 page size. We can make the columns narrower but this will scrunch up the data. The alternative is to change the page size in the Options tab, and select the size from the Page Size dropdown menu.
In this example, we'll adjust the page size to A3. Note:- adjusting page size does not mean you need a larger printer; adjusting means the report will be prepared for the larger page but you can still print on standard A4 or US Letter. Basically, adjusting the page size reduces the size of the report.

17. Click Save, and Run to test:

18. The custom report looks something like this:

In this case, we could add more columns, reorder the columns, align the data, resize the columns etc to make the report look more presentable:
