Creating custom groups allows you to condense the information that's displayed in your look. For example, you could simplify a look by grouping the "Highest" and "High" priorities instead of displaying them separately.
To create custom groups:
-
Open the look in edit mode. To learn how, see Edit a look.
-
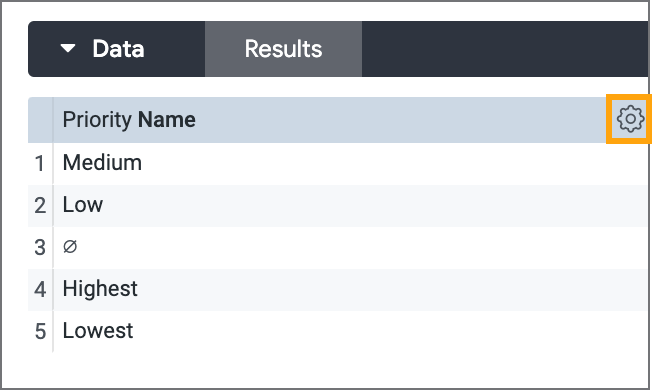
In the Data section, click the gear icon in the column for the field you want to create custom groups for:
-
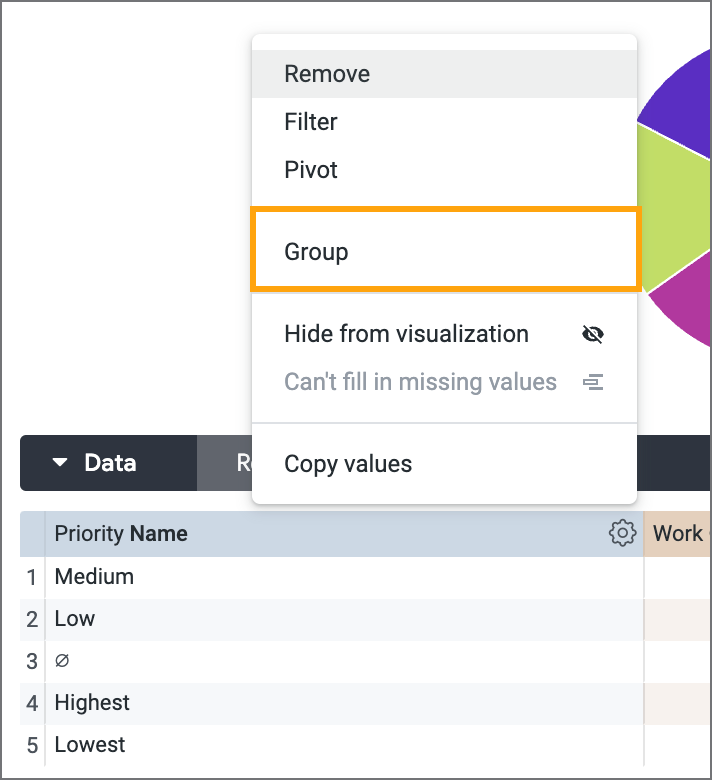
In the menu, select Group:
-
Enter a name for the group.
-
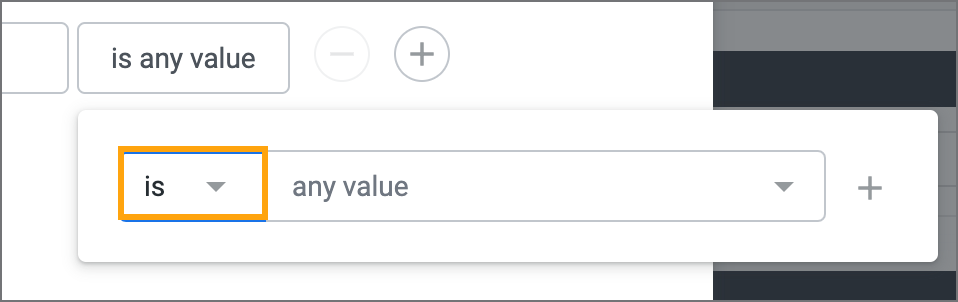
Click the is any value button.
-
In the first drop-down list, select the operator you want to use:
-
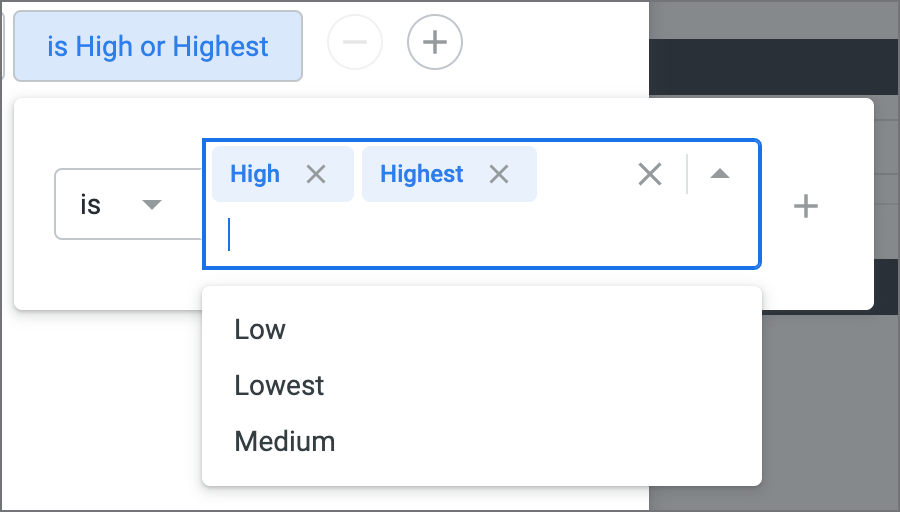
In the second drop-down list, select the values you want to include in this group:
-
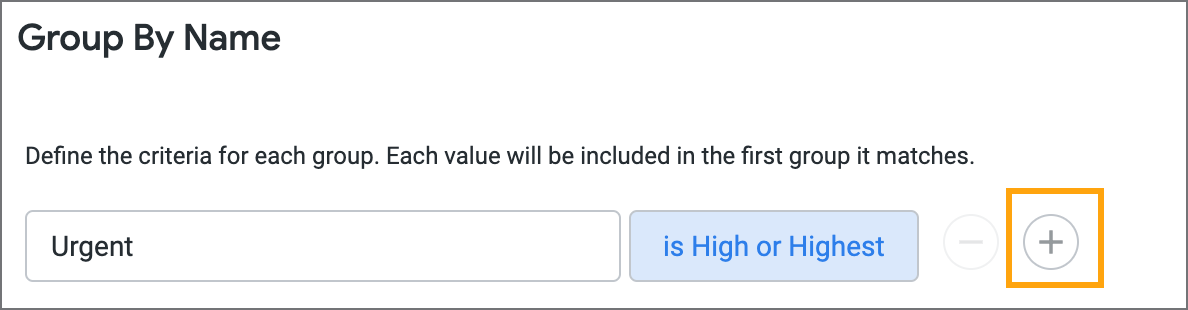
(Optional) To add another group:
-
Click the + button:
-
Repeat steps 4-7.
-
-
To create a group of any remaining values (i.e. values not specified in the groups you already created):
-
Select the Group remaining values checkbox.
-
(Optional) To change the group name from the default ("Other"), enter a new group name:

-
-
In the Field name field, enter a field name for these groups:
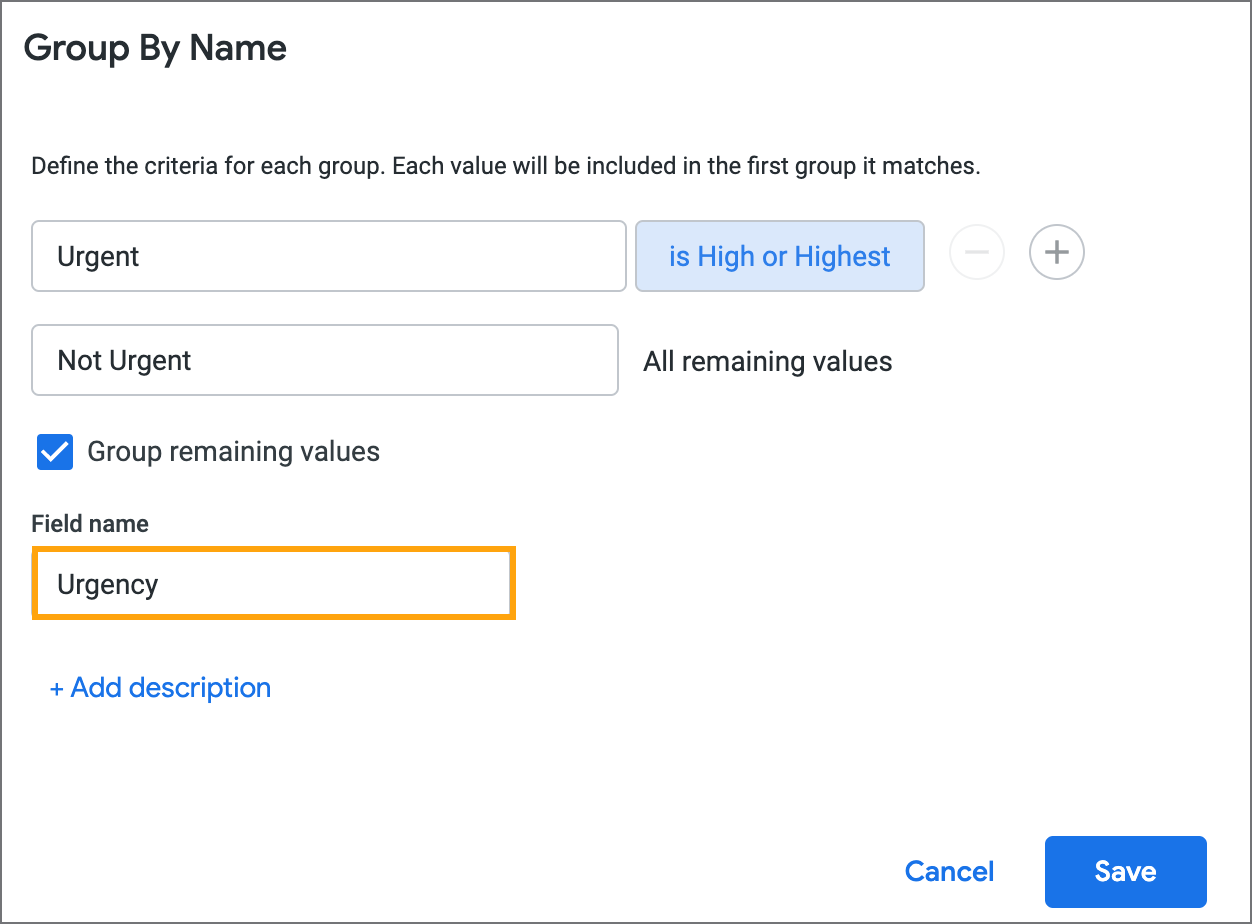
Note: This is the name that will be used as the header for this column.
-
Click Save (in the Group screen).
-
Click Save.
Tip
If you want to display these groups instead of the original, individual values, you can hide the original field from the visualization and only display the grouped one. Continuing the example above, you could hide the Priority column and display your grouped column instead, so that each priority only displayed in its assigned group.