If you regularly need to send the same look, you can set up a schedule to send it automatically, rather than having to send it manually each time.
You can schedule sending looks the following ways:
The sections below describe how to set up a schedule to send your looks using each of those methods. If you just want to send your look just once, see Send a look.
To schedule sending a look via email:
-
Open the look you want to create a schedule for. To learn how, see View looks.
-
Click the gear icon:

-
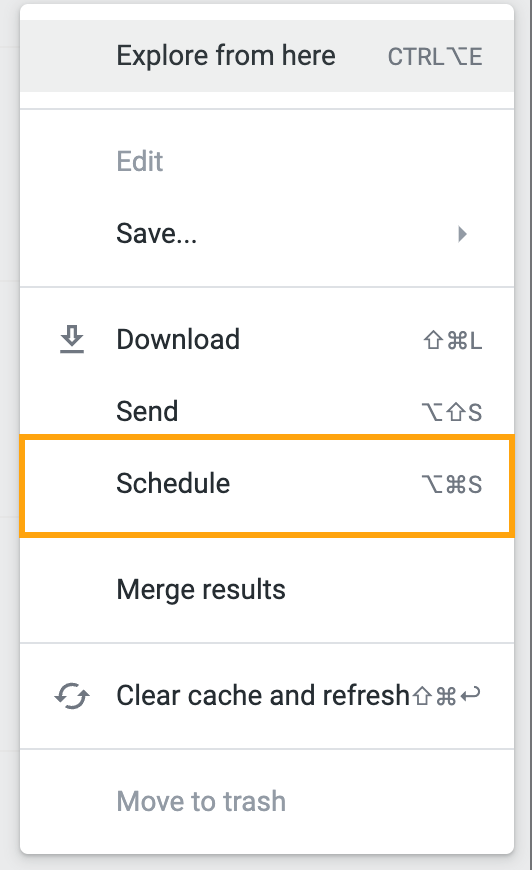
In the drop-down menu, select Schedule:
-
(Optional) To change the name for this schedule, edit the default one provided in the Give your schedule a name field.
-
In the Where should this data go? section, select Email.
-
In the Who should it be emailed to? section, enter the email addresses you want to send the look to. If you want to send the look to multiple addresses, separate them with commas.
-
(Optional) To include a custom message in your email, select the Include a custom message checkbox and enter your message in the field provided.
-
In the Format data as section, select the file type you want to send.
-
In the Trigger section, verify that Repeating interval is selected.
-
In the Deliver this schedule section, specify how often you want to send the look:
-
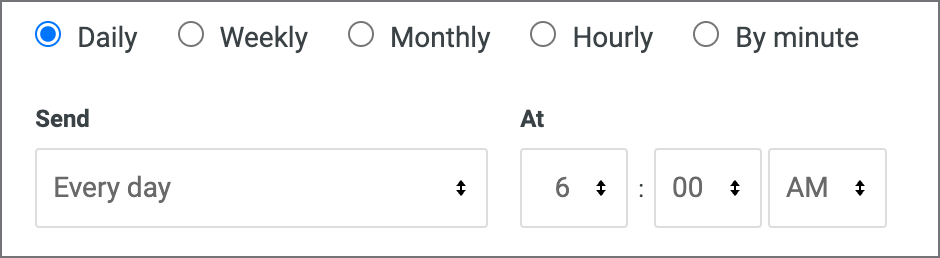
To send the look on certain days, select Daily, and then specify which days and at what time you want to send it:
-
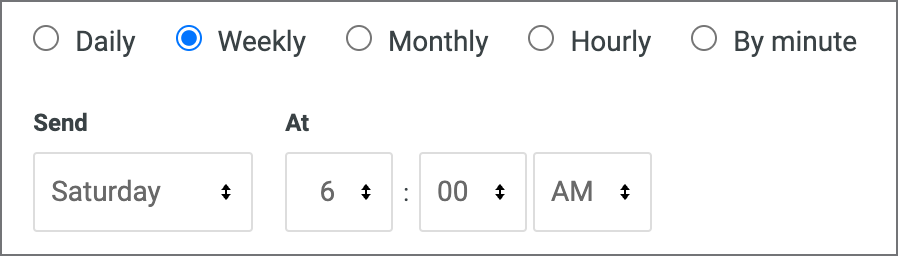
To send the look once a week, select Weekly, and then specify which day and time you want to send it:
-
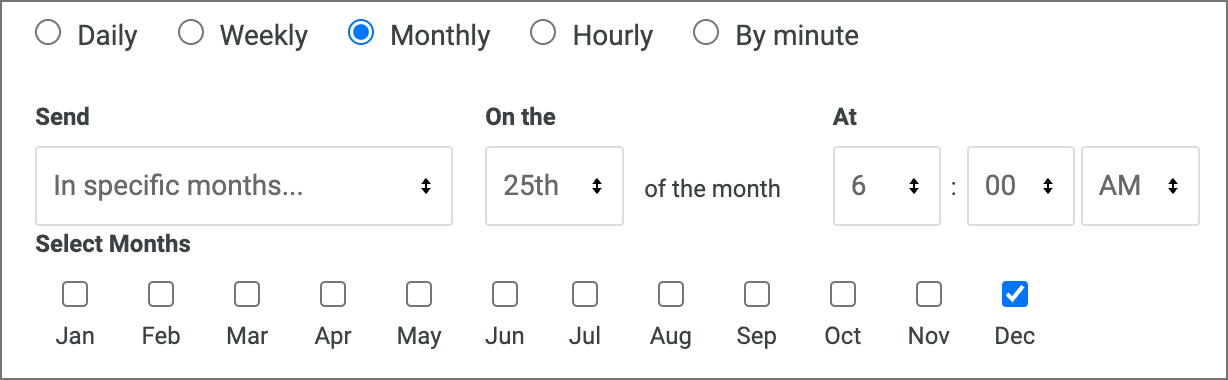
To send the look on a certain day of the month, select Monthly. Then, you can specify how often you want to send it (every month, every quarter, or only in certain months), as well as the day of the month and the time you want to send it:
-
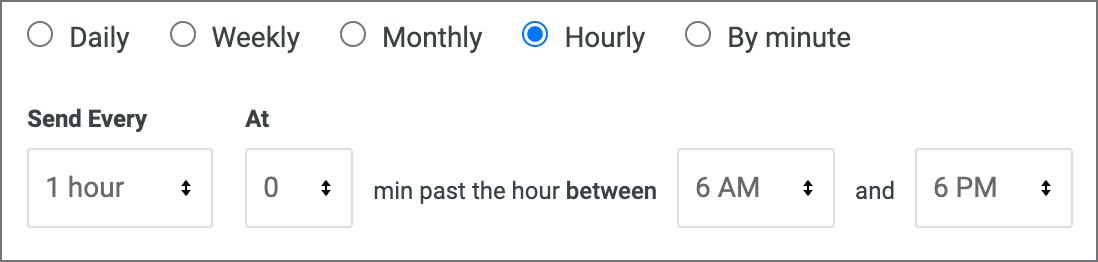
To send the look by the hour, select Hourly. Then, you can specify the number of hours between each email, and the time range during which they are sent:
-
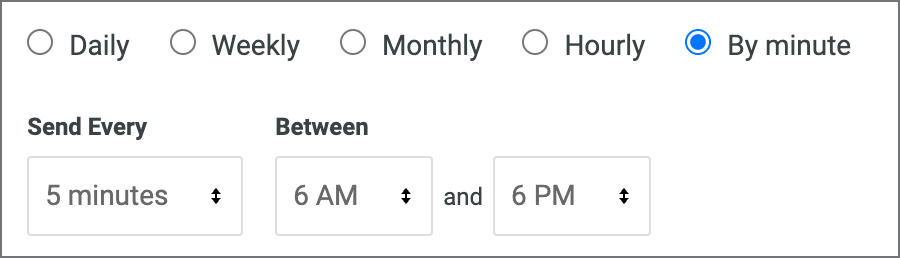
To send the look multiple times per hour, select By minute. Then, you can specify the number of minutes between each email, and the time range during which they are sent:
-
-
(Optional) If your look contains filters, use the Filters section to select the ones you want to apply to the file. For example, you could filter the file so that it only contains data for a single site.
-
In the Advanced options section, configure any of the following settings. These will vary based on the file type you selected in step 8.
Setting
Description
Applies to
Limit
Select whether you want to include only the results displayed in the CMMS, or all the results.
All file types
Include links
Select this checkbox to include links back to the CMMS, such as to work orders and asset records. This allows the recipients to quickly navigate directly to the corresponding record in the CMMS.
All file types
Timezone
Select the timezone you want to apply to this schedule.
All file types
Send this schedule if
Use this drop-down list to specify the conditions for sending the look using this schedule: when there are results, when there aren't results, or both.
Select the and results changed since last run checkbox to send the look only if its results have changed since the last time it was sent.
All file types except Visualization
Apply visualization options
Select this option to apply the same visualization options (totals, row numbers, etc.) in the CSV as are applied in the look.
All file types except Visualization
Formatted data values
Select this option to format data the same way it's formatted in your look. When this checkbox is cleared, the data is unformatted (no rounding, special characters, etc.)
All file types except Visualization
Table resolution
Select the table width (normal or wide).
Visualization
-
(Optional) To test your configuration, click Send Test.
-
When you're satisfied with the schedule you've created, click Save All.
To schedule sending a look via webhook:
-
Open the look you want to create a schedule for. To learn how, see View looks.
-
Click the gear icon:
-
In the drop-down menu, select Schedule:
-
(Optional) To send your look using a different title, edit the text in the Title field.
-
In the Where should this data go? section, select Webhook.
-
In the Webhook URL field, enter the URL for the webhook.
-
In the Format data as section, select the file type you want to send.
-
In the Trigger section, verify that Repeating interval is selected.
-
In the Deliver this schedule section, specify how often you want to send the look:
-
To send the look on certain days, select Daily, and then specify which days and at what time you want to send it:
-
To send the look once a week, select Weekly, and then specify which day and time you want to send it:
-
To send the look on a certain day of the month, select Monthly. Then, you can specify how often you want to send it (every month, every quarter, or only in certain months), as well as the day of the month and the time you want to send it:
-
To send the look by the hour, select Hourly. Then, you can specify the number of hours between each delivery, and the time range during which they are sent:
-
To send the look multiple times per hour, select By minute. Then, you can specify the number of minutes between each delivery, and the time range during which they are sent:
-
-
(Optional) If your look contains filters, use the Filters section to select the ones you want to apply to the file. For example, you could filter the file so that it only contains data for a single site.
-
In the Advanced options section, configure any of the following settings. These will vary based on the file type you selected in step 7.
Setting
Description
Applies to
Limit
Select whether you want to include only the results displayed in the CMMS, or all the results.
All file types
Timezone
Select the timezone you want to apply to this schedule.
All file types
Send this schedule if
Use this drop-down list to specify the conditions for sending the look using this schedule: when there are results, when there aren't results, or both.
Select the and results changed since last run checkbox to send the look only if its results have changed since the last time it was sent.
All file types except JSON - Detailed, Inline
Apply visualization options
Select this option to apply the same visualization options (totals, row numbers, etc.) in the CSV as are applied in the look.
All file types except JSON - Detailed, Inline
Formatted data values
Select this option to format data the same way it's formatted in your look. When this checkbox is cleared, the data is unformatted (no rounding, special characters, etc.)
All file types except JSON - Detailed, Inline
-
(Optional) To test your configuration, click Send Test.
-
When you're satisfied with the schedule you've created, click Save All.
To schedule sending via Amazon S3:
-
Open the look you want to create a schedule for. To learn how, see View looks.
-
Click the gear icon:
-
In the drop-down menu, select Schedule:
-
(Optional) To send your look using a different title, edit the text in the Title field.
-
In the Where should this data go? field, select Amazon S3.
-
In the S3 details section, enter your S3 credentials.
-
In the Format data as section, select the file type you want to send.
-
In the Trigger section, verify that Repeating interval is selected.
-
In the Deliver this schedule section, specify how often you want to send the look:
-
To send the look on certain days, select Daily, and then specify which days and at what time you want to send it:
-
To send the look once a week, select Weekly, and then specify which day and time you want to send it:
-
To send the look on a certain day of the month, select Monthly. Then, you can specify how often you want to send it (every month, every quarter, or only in certain months), as well as the day of the month and the time you want to send it:
-
To send the look by the hour, select Hourly. Then, you can specify the number of hours between each delivery, and the time range during which they are sent:
-
To send the look multiple times per hour, select By minute. Then, you can specify the number of minutes between each delivery, and the time range during which they are sent:
-
-
(Optional) If your look contains filters, use the Filters section to select the ones you want to apply to the file. For example, you could filter the file so that it only contains data for a single site.
-
In the Advanced options section, configure any of the following settings. These will vary based on the file type you selected in step 7.
Setting
Description
Applies to
Limit
Select whether you want to include only the results displayed in the CMMS, or all the results.
All file types
Timezone
Select the timezone you want to apply to this schedule.
All file types
Send this schedule if
Use this drop-down list to specify the conditions for sending the look using this schedule: when there are results, when there aren't results, or both.
Select the and results changed since last run checkbox to send the look only if its results have changed since the last time it was sent.
All file types except JSON - Detailed, Inline
Apply visualization options
Select this option to apply the same visualization options (totals, row numbers, etc.) in the CSV as are applied in the look.
All file types except JSON - Detailed, Inline
Formatted data values
Select this option to format data the same way it's formatted in your look. When this checkbox is cleared, the data is unformatted (no rounding, special characters, etc.)
All file types except JSON - Detailed, Inline
-
(Optional) To test your configuration, click Send Test.
-
When you're satisfied with the schedule you've created, click Save All.
To schedule sending a look via SFTP:
-
Open the look you want to send. To learn how, see View looks.
-
Click the gear icon:
-
In the drop-down menu, select Schedule:
-
(Optional) To send your look using a different title, edit the text in the Title field.
-
In the Where should this data go? field, select SFTP.
-
In the SFTP details section, enter your SFTP address and credentials.
-
In the Format data as section, select the file type you want to send.
-
In the Trigger section, verify that Repeating interval is selected.
-
In the Deliver this schedule section, specify how often you want to send the look:
-
To send the look on certain days, select Daily, and then specify which days and at what time you want to send it:
-
To send the look once a week, select Weekly, and then specify which day and time you want to send it:
-
To send the look on a certain day of the month, select Monthly. Then, you can specify how often you want to send it (every month, every quarter, or only in certain months), as well as the day of the month and the time you want to send it:
-
To send the look by the hour, select Hourly. Then, you can specify the number of hours between each delivery, and the time range during which they are sent:
-
To send the look multiple times per hour, select By minute. Then, you can specify the number of minutes between each delivery, and the time range during which they are sent:
-
-
(Optional) If your look contains filters, use the Filters section to select the ones you want to apply to the file. For example, you could filter the file so that it only contains data for a single site.
-
In the Advanced options section, configure any of the following settings. These will vary based on the file type you selected in step 7.
Setting
Description
Applies to
Limit
Select whether you want to include only the results displayed in the CMMS, or all the results.
All file types
Timezone
Select the timezone you want to apply to this schedule.
All file types
Send this schedule if
Use this drop-down list to specify the conditions for sending the look using this schedule: when there are results, when there aren't results, or both.
Select the and results changed since last run checkbox to send the look only if its results have changed since the last time it was sent.
All file types except JSON - Detailed, Inline
Apply visualization options
Select this option to apply the same visualization options (totals, row numbers, etc.) in the CSV as are applied in the look.
All file types except JSON - Detailed, Inline
Formatted data values
Select this option to format data the same way it's formatted in your look. When this checkbox is cleared, the data is unformatted (no rounding, special characters, etc.)
All file types except JSON - Detailed, Inline
-
When you're satisfied with the schedule you've created, click Save All.
-
(Optional) To test your configuration, click Send Test.