Overview
This article outlines how to add a custom dropdown menu item to a work order form and then rearrange its position.
Note: This is only available for Enterprise tier.
1. Add a custom field/table
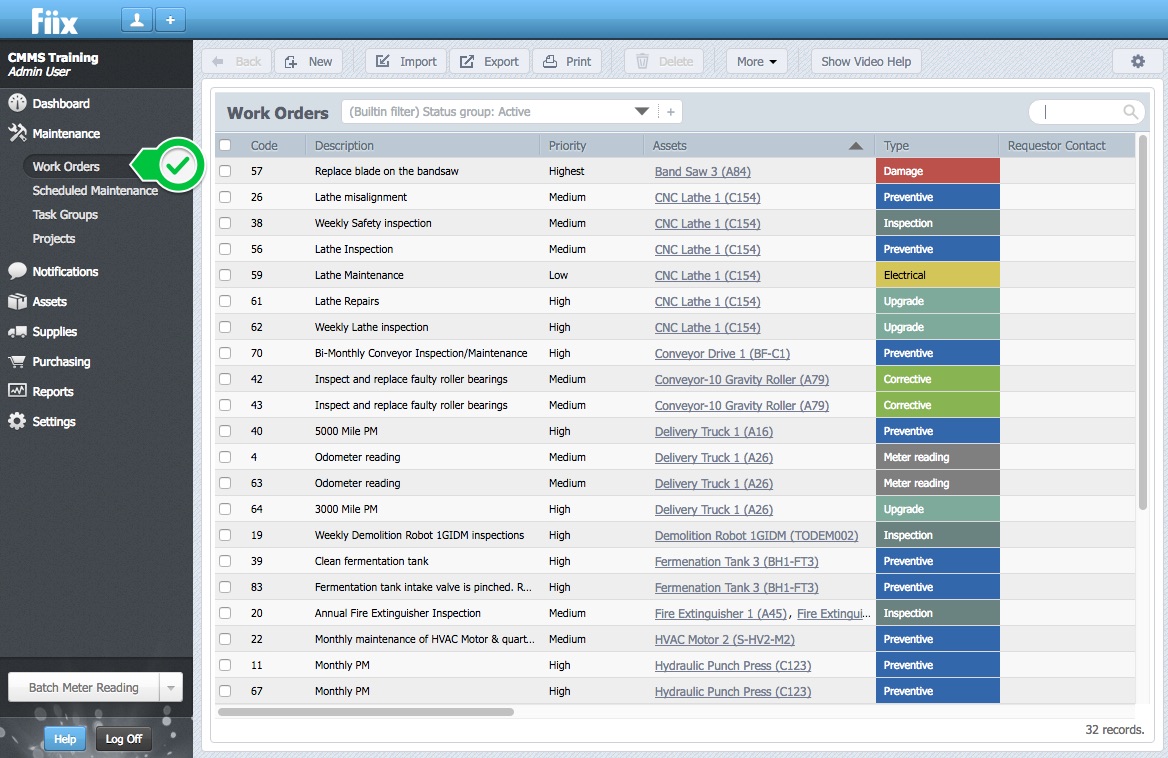
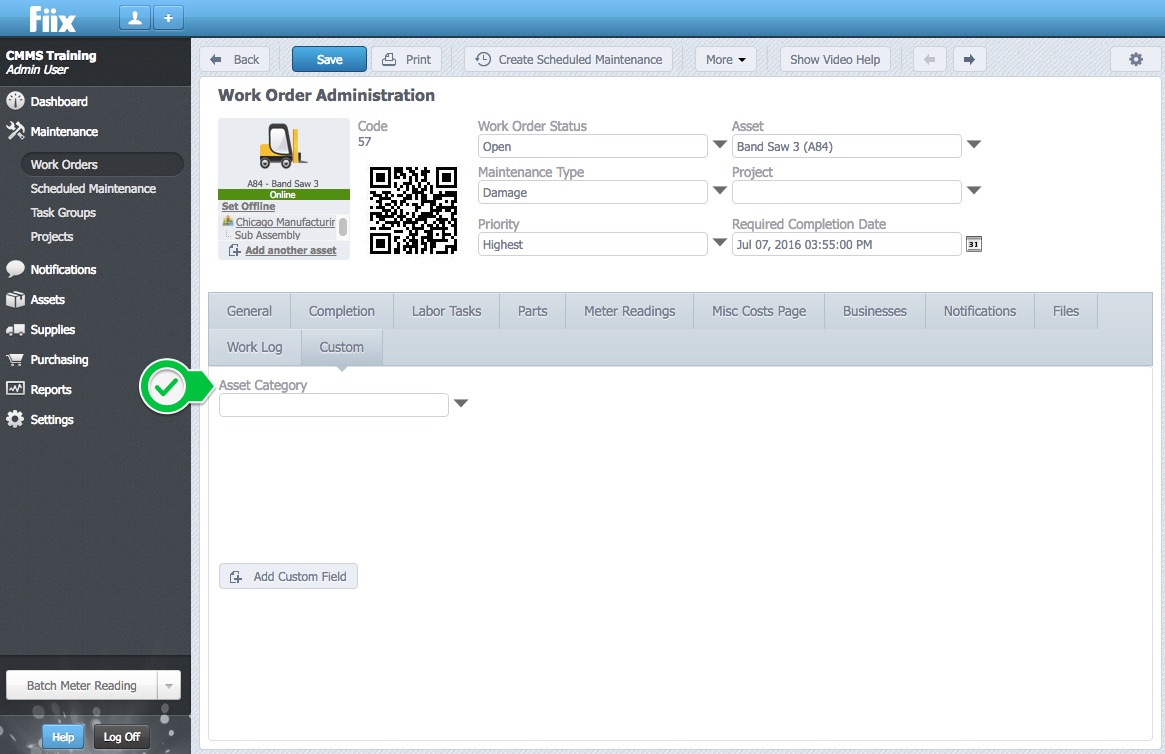
1. To begin, navigate to the work order page and open a work order.
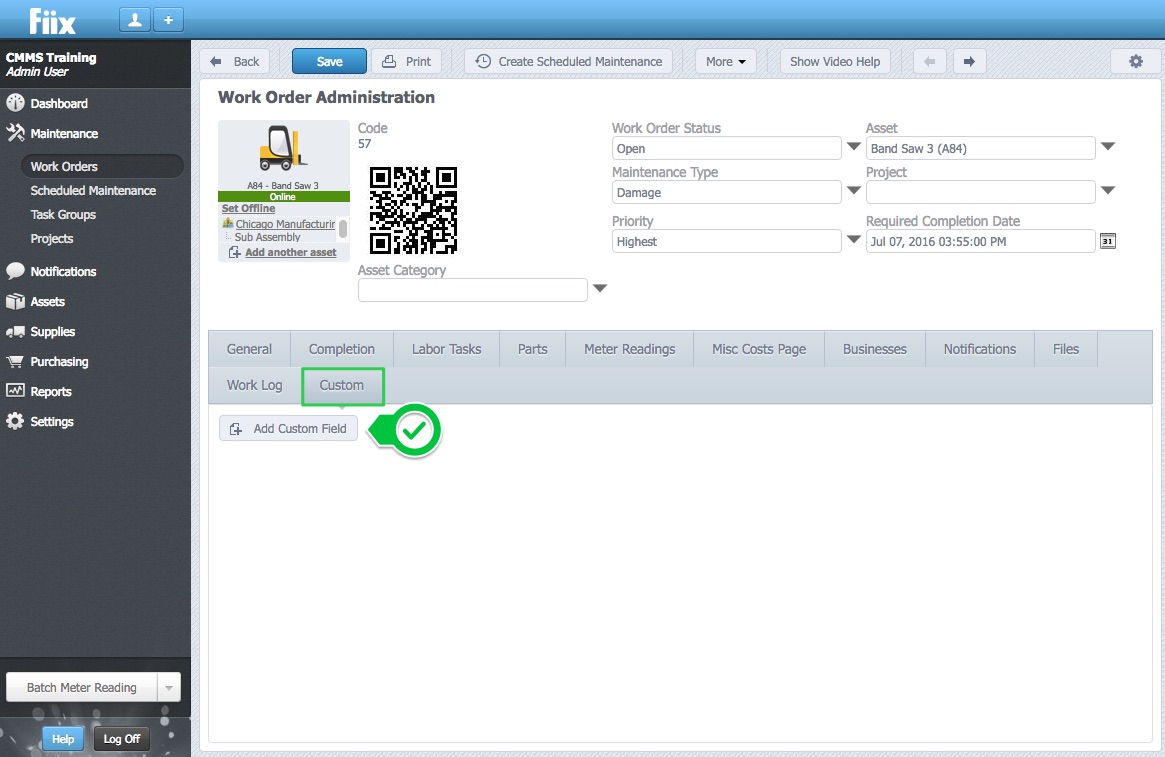
2. Select the Custom tab and click Add Custom Field
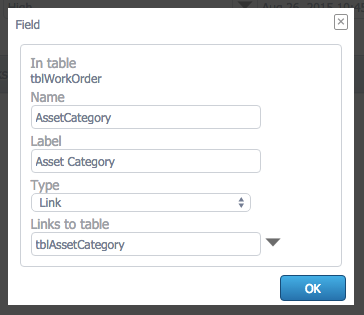
3. Within the pop-up box below, enter in the desired information.
Name: The column name as it will be stored in the database table
Label: How the field will be displayed on the form
Type: The type of field you are creating (Text, Number, Date, or Link to a table).
In this example, the Type will be a link to an existing table in the CMMS. For information on creating new custom tables, please see Creating a Custom Table.
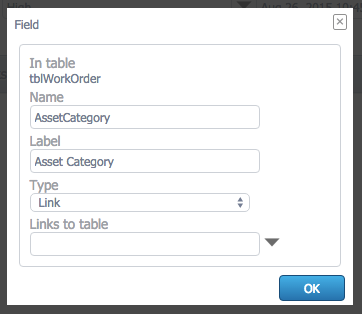
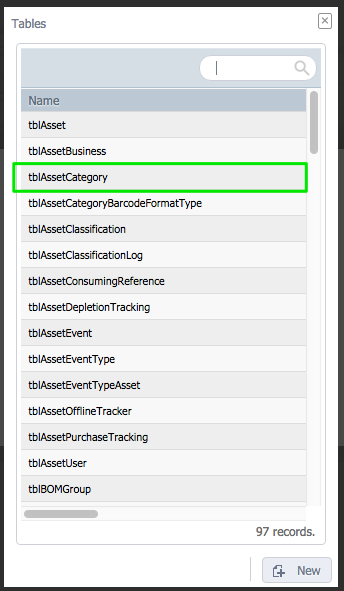
4. Select the table to link to within the Links to table drop down. In this example, we are adding 'Asset Category' to the work order form, so we will select tblAssetCategory.
5. Click OK to finish.
6. The drop down table 'Asset Category' is now available within the custom tab of the work order.
2. Re-arrange the fields on the work order form.
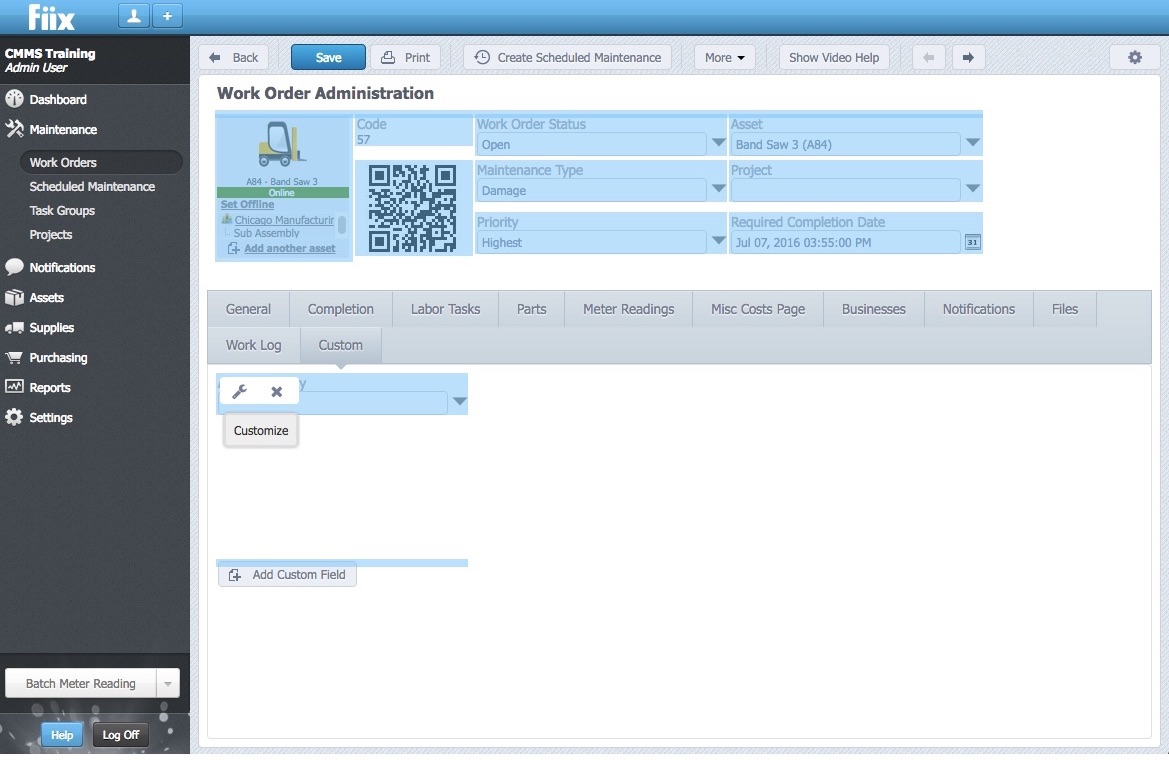
1. To re-arrange the fields on a work order form, select the Customization button at the top corner of the page.
2. Use the Rearrange button, next to the Customization button, to allow for the moving of fields.
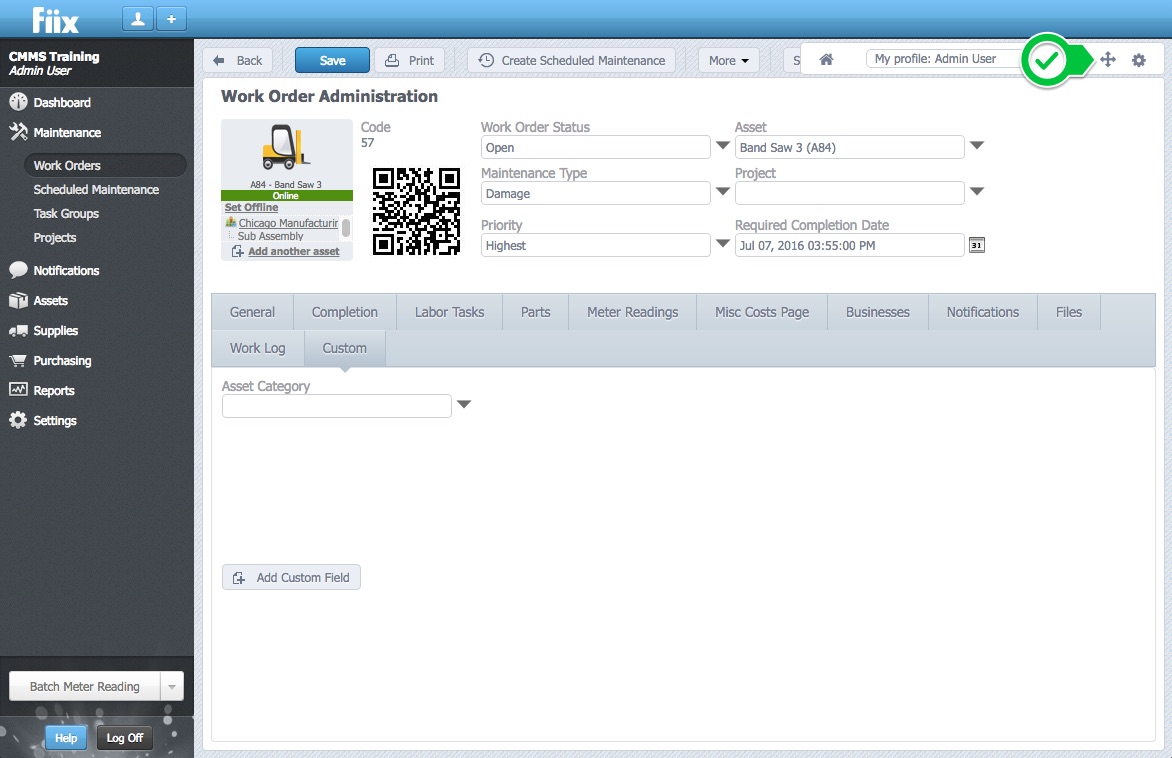
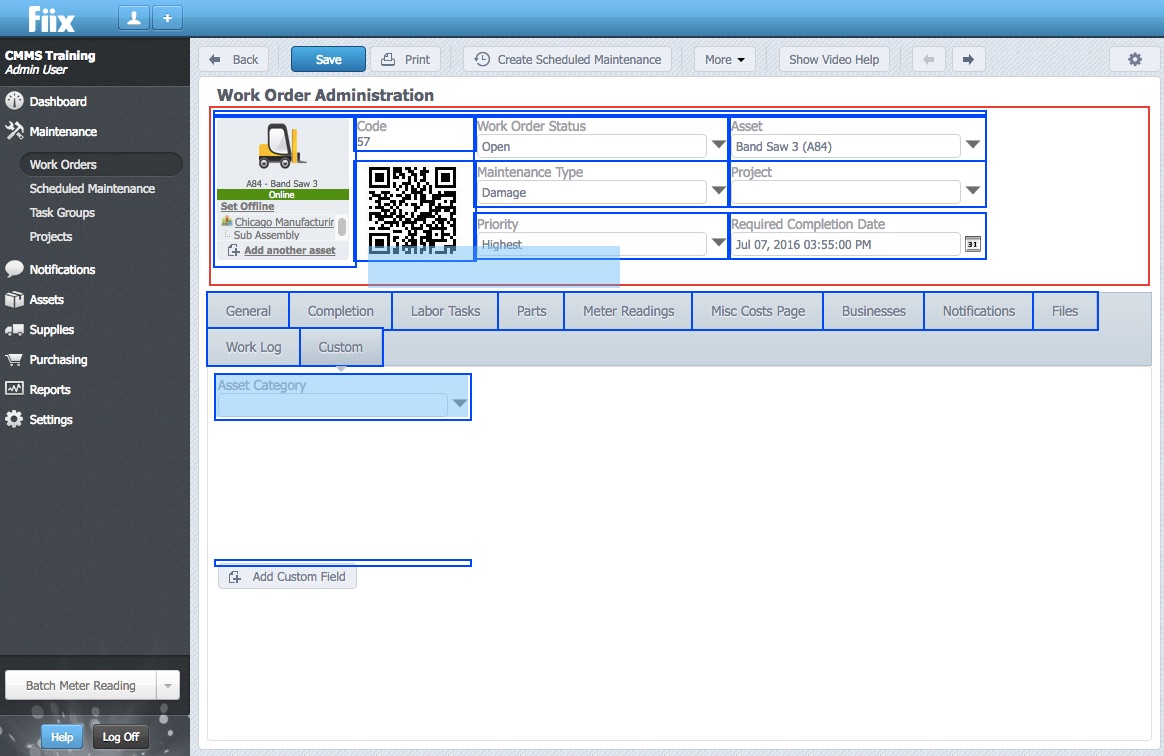
3. Any fields that have the ability to be moved will be highlighted in blue. Hover over and select the field to be moved.
4. Simply drag and drop the field to its desired location. The area receiving the field will be highlighted in red.
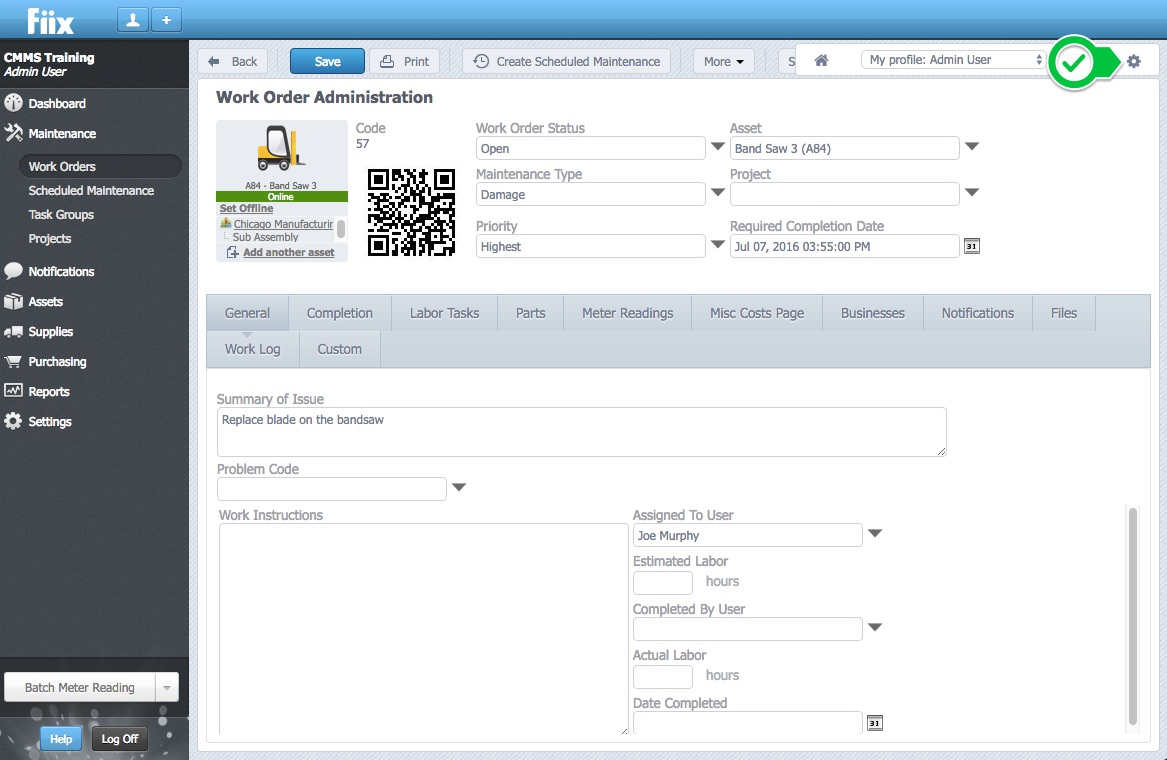
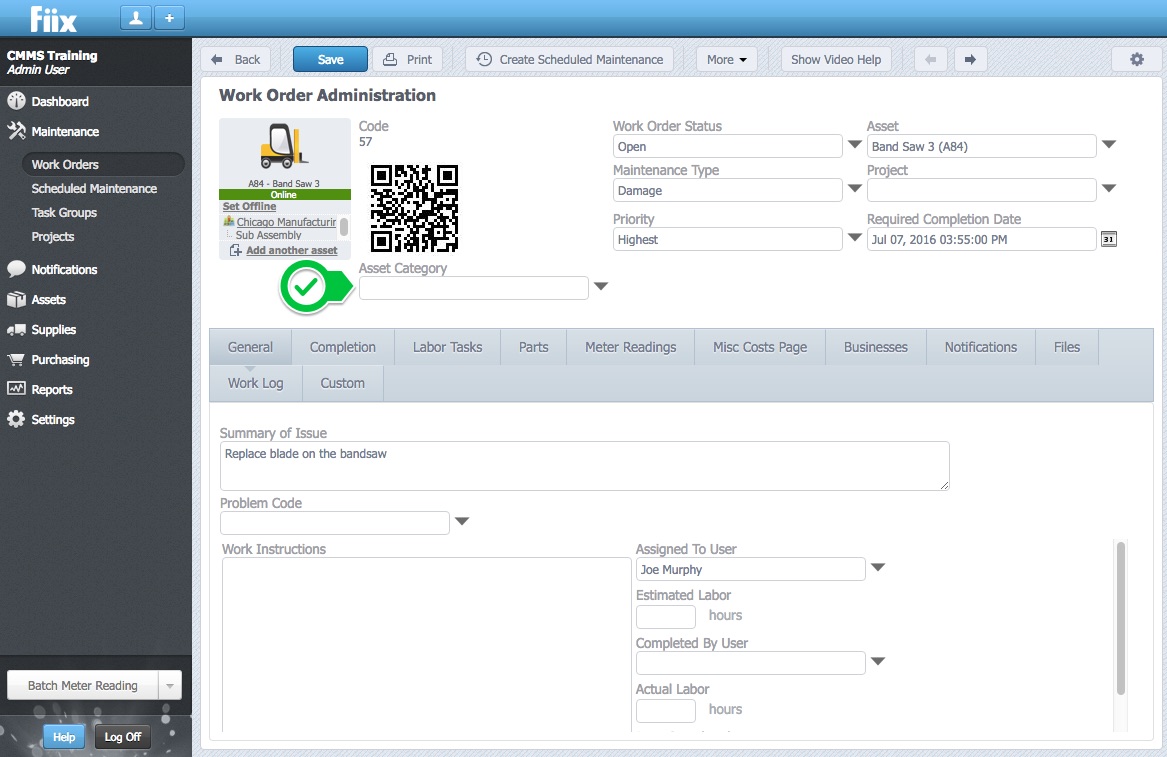
5. The custom field 'Asset Category' has now been moved into the General section of the work order.
6. Work order forms can also be customized at the user group level. Instructions can be found on the Customize the work order form article.