Before you begin
You can only edit customized localizations if you are an admin or the user who created the localization.
Plans: Basic, Professional, and Enterprise
To create a customized localization:
-
Navigate to Settings > Localization.
Note
The single head (
 ) icon indicates the localization you are currently using, and the group (
 ) icon indicates the default language for the tenant.
 -
Click New.
-
Fill out the following fields:
-
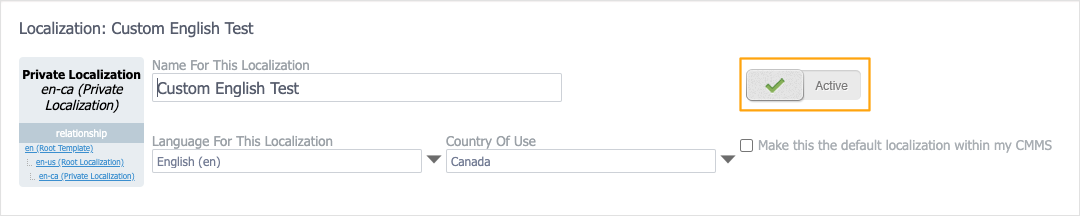
Name For This Localization: This is the name of your customized localization.
-
Language For This Localization: The language your customized localization is based on.
-
Country of Use: The country your customized localization will be used in.
-
Untranslated Phrases Use: The language that will be used for phrases that are unfilled.
-
-
Click OK.
-
Navigate to the Global Keys tab.
-
Click Edit Menu, Edit Actions, or Edit Common Labels And Elements to display each type of translatable phrases:

-
Enter your translations in the My Translation column fields.
Filled phrases (phrases that have been translated) are highlighted in green. You can filter for filled and unfilled phrases with the Show Filled and Show Unfilled buttons.
Note
Make sure you save before navigating from one section to another.
-
When you're finished, click Save.
-
To activate the customized localization so that other users within the CMMS can begin using it, switch on the Inactive/Active toggle: