Overview
This procedure will demonstrate how to manually create your first Location or Facility asset. As this location or facility will most likely represent your organization, it should be at the top of your hierarchy, and be the first asset that you create. To learn more about the asset hierarchy and ordering asset, see About the asset hierarchy.
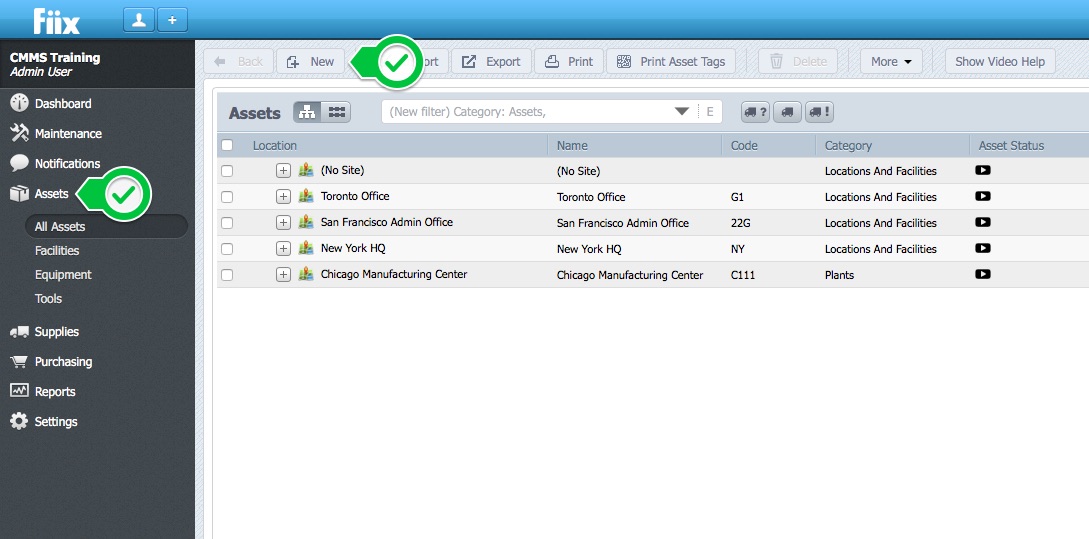
1. Begin by selecting Assets, and clicking New
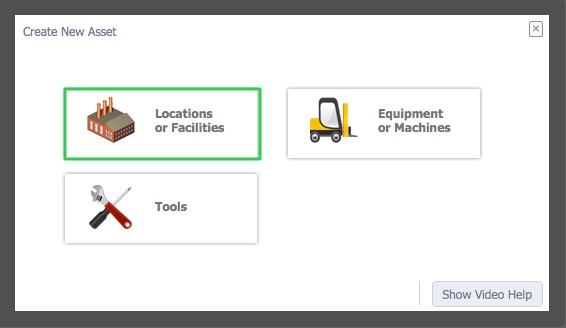
2. Next, select the type of asset to create. Select Locations or Facilities.
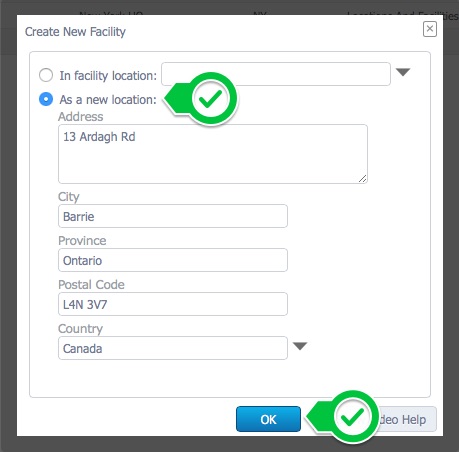
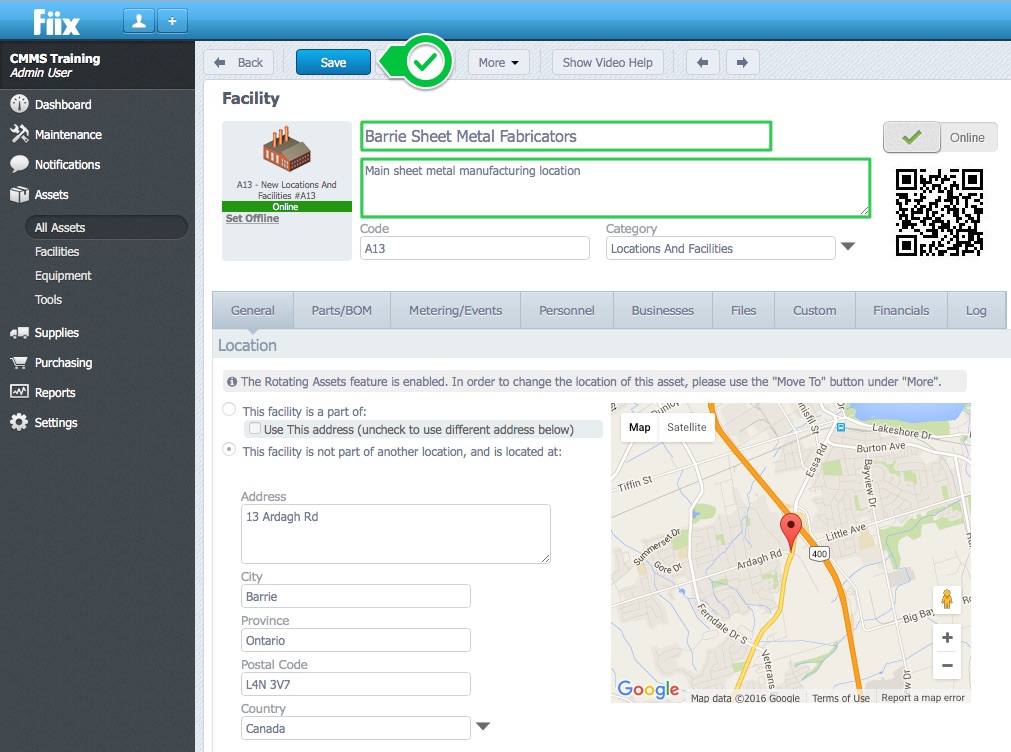
3. Next, select As a new location, and enter the address information. This action will create this asset as a top-level facility.
4. Add the asset name, asset description, and click Save
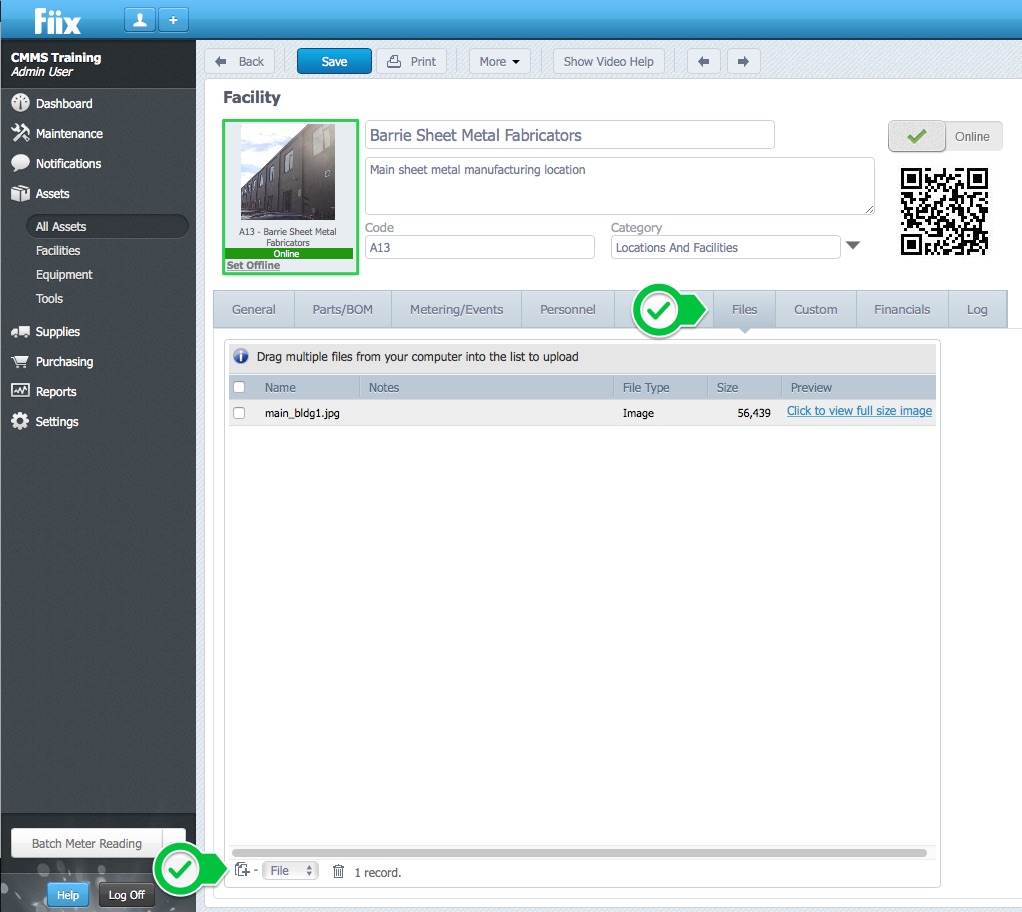
5. The Files tab is where you attach files such as photos, pdf manuals etc. to the asset. To attach files quickly, click Files, and drag-and-drop files from your computer. Alternatively, you can click the New button, and attach files this way. It is common to add an image of the asset.
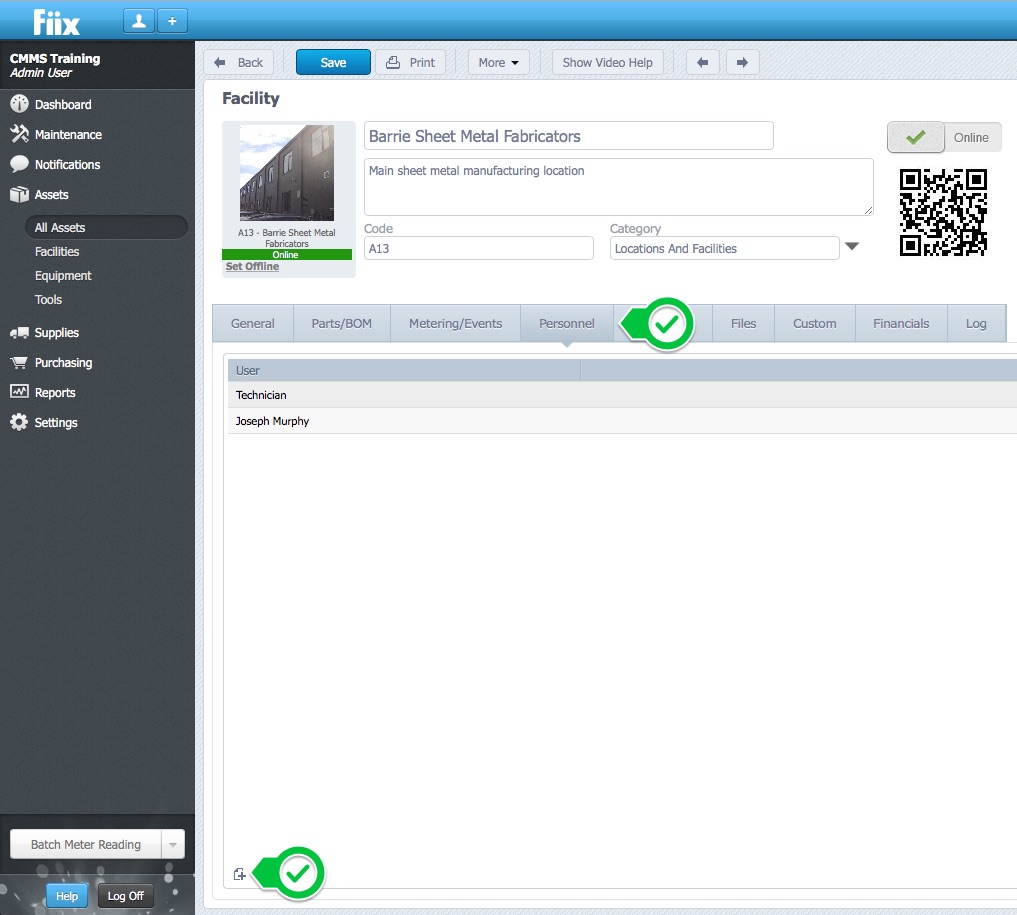
6. The final step is to associate users with the asset. This can be done by clicking Personnel, and New. You can associate as many users as you want with the asset. You can customize the user notifications so that the users associated with the asset receive email notifications relating to the asset.
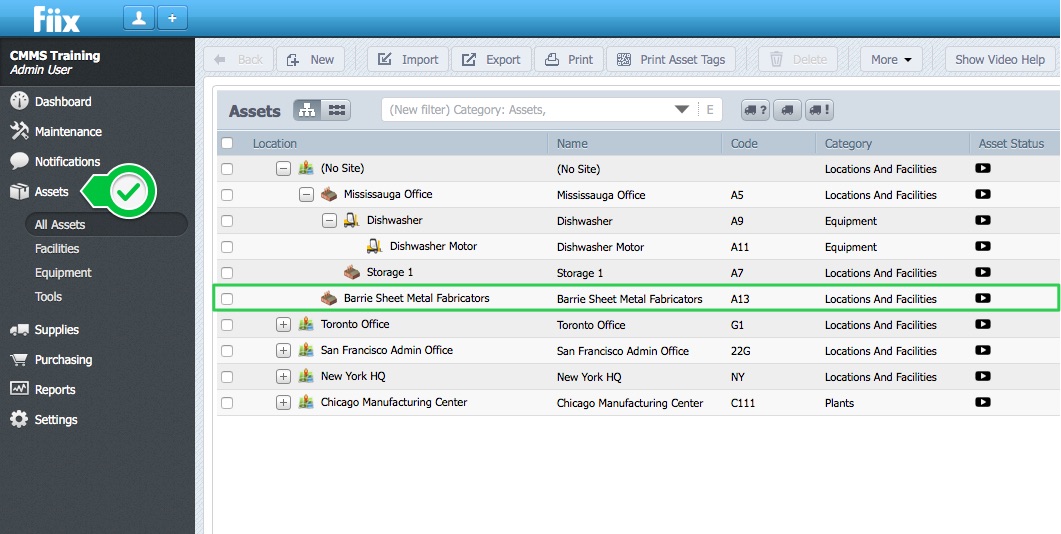
Select Assets to view the new asset.